1.1 WordPress Dashboard
This is the recommended way of installing any WordPress plugin available on the official plugin repository.
- Open the WordPress Dashboard of your website.
- Navigate to Plugins → Add new.
- Search for Login Page UI Customizer by CloudRedux using the search bar located on the top-right side of the screen.
- In the displayed search results click on Install Now on Login Page UI Customizer by CloudRedux.
- Click on Activate if you wish to activate the plugin immediately.
1.2 Manual Installation
To manually install the plugin, follow these steps:
- Open the plugin website on WordPress.org
- Download the plugin by clicking the Download button located on the top-right side of the screen.
- Open your WordPress Dashboard.
- Navigate to Plugins → Add new
- At the top of the screen click on the Upload plugin button.
- Click on Browse… and select the plugin file you previously downloaded, then click on Install Now.
- Click on the Activate plugin if you wish to activate it immediately.
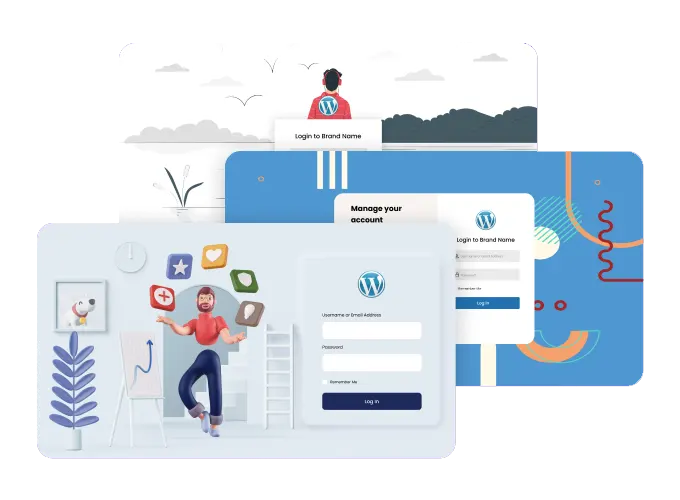
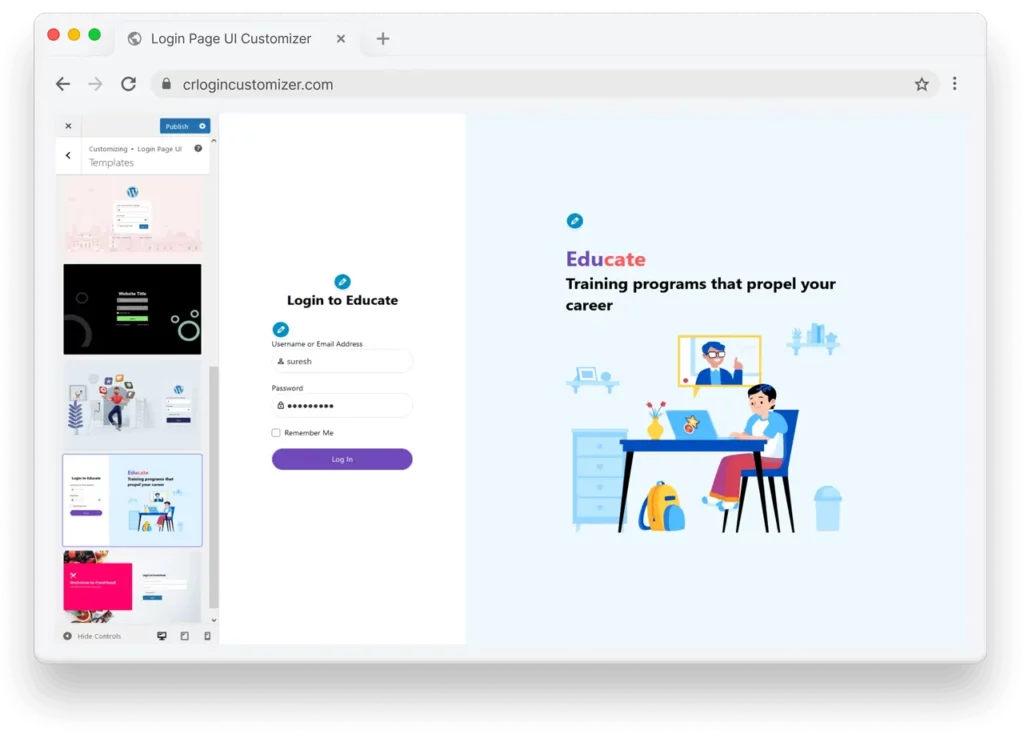
Templates
Choose from ready-to-apply templates, or create your own. Pick from a wide range of template layouts or upload a new one and start from there, and begin from there!
2.2 Design
Design your login page and enhance the look, feel, and experience of your website completely!
- Background Image: Pick an image for the login page background.
- Overlay Color: Overlay a color of your choice on the background.
- Background Opacity: Change the opacity of the background (if a color is selected instead of the background image).
or - Background Color: Pick a color of your choice for the login page background.
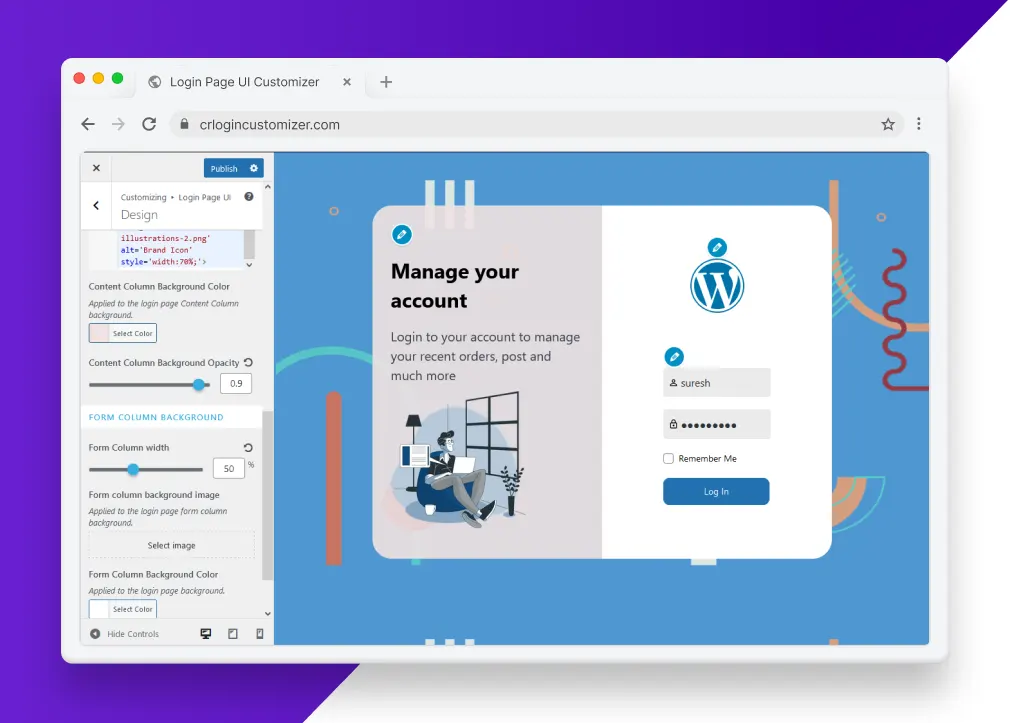
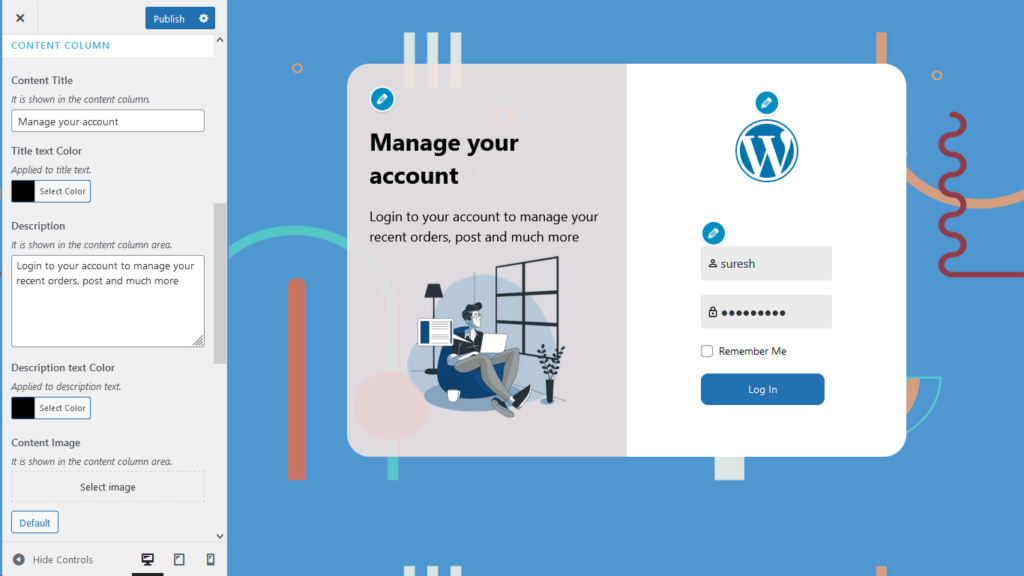
2.2.1 Content Column
- Content Column: Edit or Add content to your content column.
- Background Color: Change the color of the content column background to your liking.
- Background Color Opacity: Adjust the background color opacity of the content column.
2.2.2 Form Column
- Width: Adjust the form column width.
- Background Image: Pick an image for the form column background.
or - Background Color: Pick a color for the form column background.
- Background Color Opacity: Adjust the background color opacity of the form column.
2.3 Logo Settings
- Logo Options: You have three options to choose from: Show Logo, Hide Logo, and Show Title.
2.3.1 Show Logo
- Login Page Logo: Choose an image for your logo.
- Max-height for Logo Image: Adjust the height of your logo (in pixels).
- Login page Title: Write the title of your login page.
2.3.2 Hide Logo
- Login page Title: Write the title of your login page.
2.3.3 Show Title
- Title Text: Write the content to be placed at your title logo.
- Title Text Color: Choose the color of your title text.
- Title Font Size: Select the font size of your title text (in pixels).
- Login page Title: Write the title of your login page.
2.4 Form Style
Transparent Form: This is a toggle switch that enables you to have a form with/without a background.
2.4.1 Without Background
- Form Background Color: Choose your color for the Form Background.
- Form Wrapper: This is a toggle switch enabling you to wrap all elements, including background color, to be the same as the Form color.
- Form Width: Select the appropriate width of your Form.
- Form Label Color: Pick a color for the Form Label.
- Form Label Font Size: Pick the size of the Form Label (in pixels).
- Enable Field Icons: This is a toggle switch that allows you to show/hide icon labels for Username and Password.
- Button Background Color: Pick the color of your choice for the Background of the Log-in button.
- Button Hover Color: Pick the color of your choice when you hover the mouse over the Log-in button.
- Button Text Color: Pick the color for the text of the Log-in button.
- Button Text Font Size: Select the font size of the Log-in button text (in pixels).
- Hide Remember me Settings: This is a toggle switch to show/hide the ‘Remember Me’ checkbox below user credentials.
- Hide Links Below Form: This is a toggle switch to show/hide the ‘Lost your Password’ and ‘Back to Website’ links.
2.4.2 With Background
- Form Width: Select the appropriate width of your Form.
- Form Label Color: Pick a color for the Form Label.
- Form Label Font Size: Pick the size of the Form Label (in pixels).
- Enable Field Icons: This is a toggle switch that allows you to show/hide icon labels for Username and Password.
- Button Background Color: Pick the color of your choice for the Background of the Log-in button.
- Button Hover Color: Pick the color of your choice when you hover the mouse over the Log-in button.
- Button Text Color: Pick the color for the text of the Log-in button.
- Button Text Font Size: Select the font size of the Log-in button text (in pixels).
- Hide Remember me Settings: This is a toggle switch to show/hide the ‘Remember Me’ checkbox below user credentials.
- Hide Links Below Form: This is a toggle switch to show/hide the ‘Lost your Password’ and ‘Back To Website’ links.
2.5 Log-In Form Text
- Username Label: Here you can edit the text of the Username Label.
- Password Label: Here you can edit the text of the Password Label.
- Remember Me Label: Here you can edit the text of the Remember Me Label.
- Lost Password Label: Here you can edit the text of the Lost Password Label.
- Back To Website Label: Here you can edit the text of the Back To Website Label.
- Button Text: Here you can edit the text of the Log-In Button Text.
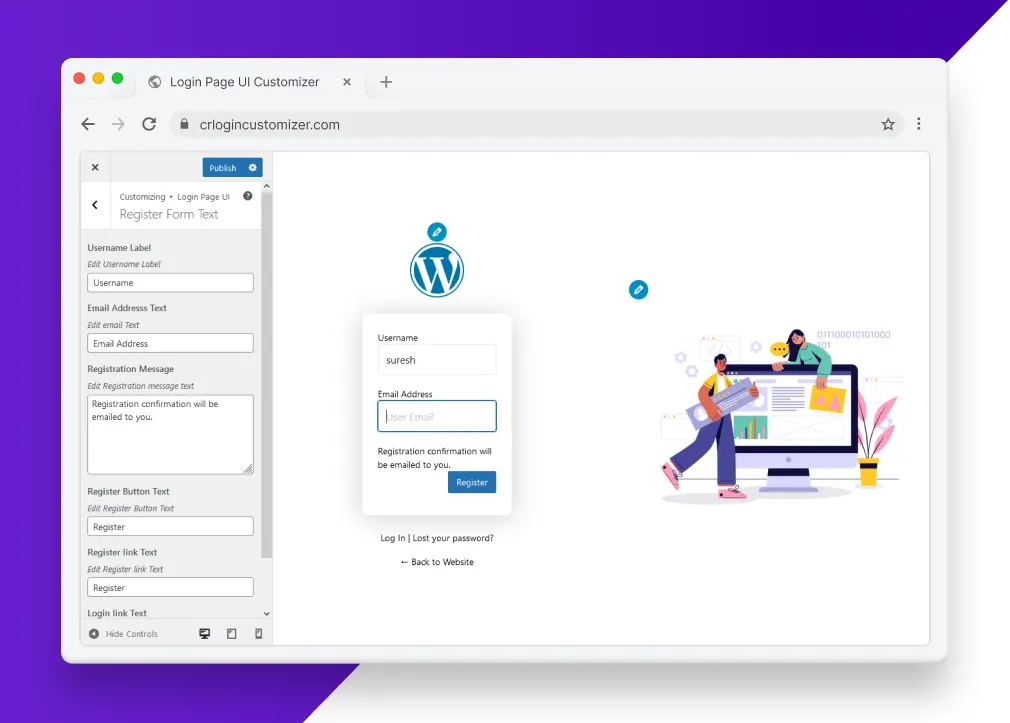
2.6 Register Form Text
- Username Label: Here you can edit the text of the Username Label.
- Email Address Text: Here you can edit the text of the Email Label.
- Registration Message: Here you can edit the text of the registration message text.
- Register Button Text: Here you can edit the text of the button label.
- Register link Text: Here you can edit the text of the register link label.
- Login link Text: Here you can edit the text of the login link text label.
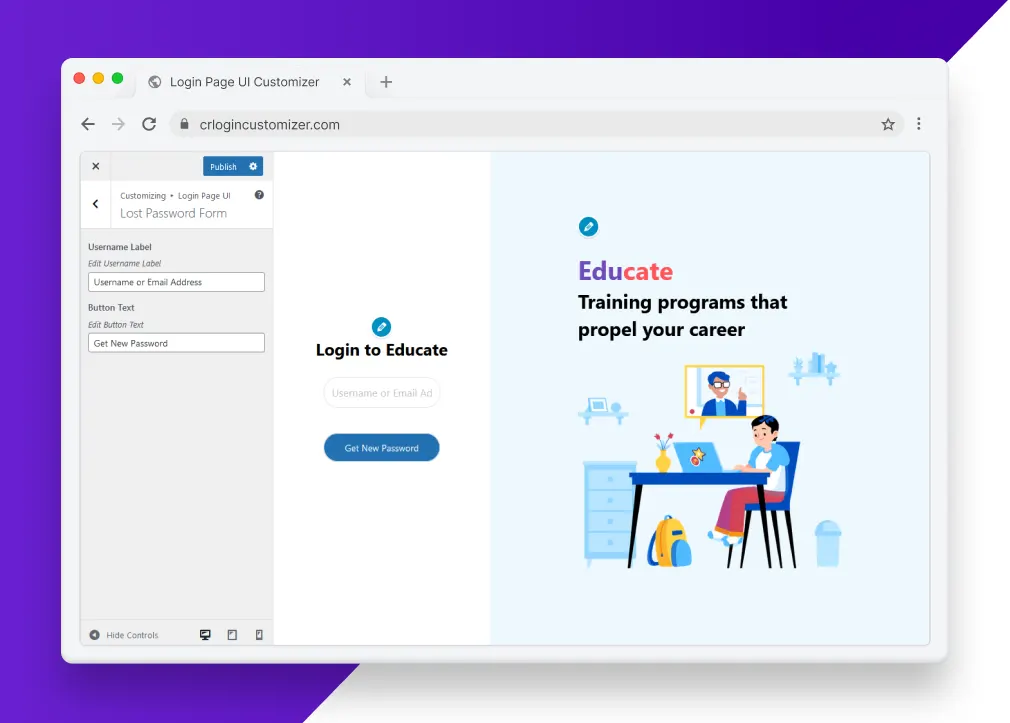
2.7 Lost Password Form
- Username Label: Edit the text of the Username Label on the Lost Password Form.
- Button Text: Edit the text of the Button Label on the Lost Password Form.